Types of Photographic Printing
For most of photography’s history the photograph was, by definition, a print. A negative on its own is just an intermediate — a strange, tonally inverted thing you hold up to the light and squint at. The picture only really comes into existence when light is turned back into an image on a sheet of paper. Over the decades there have been remarkably many ways of doing that, from a darkened room with trays of chemistry to a printer that fits in your jacket pocket. I want to walk through the main ones roughly in the order they shaped how ordinary people got their photographs, because each one is, in a sense, an answer to the shortcomings of the one before it.
Manual optical printing of black-and-white
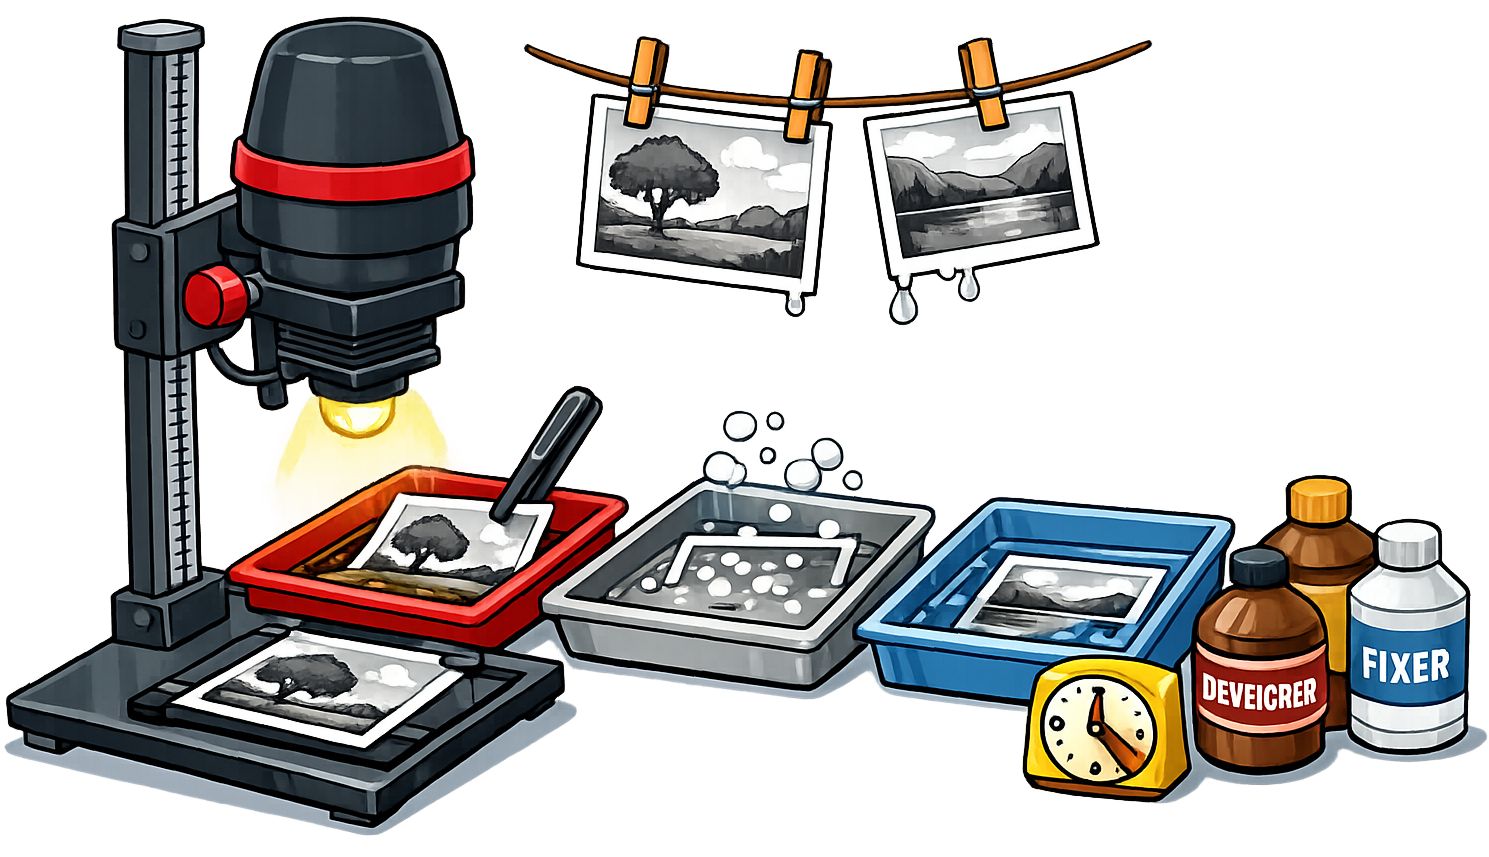
The classic darkroom print starts with an enlarger — essentially a projector pointed downwards. The negative is clamped in the enlarger head, a lamp shines through it, and a lens focuses the image down onto a sheet of light-sensitive silver-gelatin paper on the baseboard. You expose the paper for a few seconds, then move it through a sequence of trays: developer, where the image gradually swims into view; a stop bath to halt development; and fixer to make the image permanent and no longer sensitive to light. A wash and a dry, and you have a print.
What makes black-and-white printing so approachable — and so beloved by hobbyists to this day — is that the paper is essentially blind to red and amber light. That means you can work under a dim safelight and actually see what you are doing: you watch the image appear in the developer tray, and you can intervene. This is where the craft lives. By holding back light from part of the image with your hand or a piece of card (“dodging”) or giving an area extra exposure (“burning”), you can lighten or darken specific regions of the print. Two people can pull two completely different pictures out of the same negative. It is slow, hands-on, slightly magical, and entirely forgiving — which is exactly why it never went away.
Contact printing
Before the enlarger there was an even simpler method, and it is worth lingering on because it strips printing down to its absolute essence. In contact printing there is no enlarger and no lens at all: the negative is laid directly, emulsion to emulsion, against the sheet of photographic paper, pressed flat under a sheet of glass, and exposed to a plain overhead light. Wherever the negative is dense, little light reaches the paper; wherever it is thin, a lot does. Develop the paper exactly as before and you get a positive print.
Because the negative touches the paper one-to-one, the print comes out at exactly the same size as the negative — and razor sharp, since nothing is being projected through optics. With the small negatives most of us shoot, that gives you a tiny picture, which is why contact printing survives mainly in two roles: the “contact sheet”, where a whole roll is printed onto one page as a thumbnail index to choose from, and large-format photography, where a 4×5″ or 8×10″ negative makes a contact print that is already a perfectly usable, exquisitely detailed photograph. It needs almost no equipment — a light bulb, a sheet of glass, and trays — which made it the natural starting point for the whole medium.
It would be wrong, though, to file contact printing away purely as a primitive predecessor to the enlarger. There is at least one lovely example of it being chosen deliberately, for its simplicity, long after the enlarger was the norm. In the USSR there was a children’s camera called the Etyud (“Этюд”), and its whole design philosophy was to make photography accessible to kids by throwing the enlarger out of the workflow entirely: it shot on 120 roll film specifically so that the comparatively large negative could be contact-printed directly onto paper to give a finished photograph of usable size, with no projection step at all. There is a delightful irony buried in that choice. Today 120 film is usually thought of as the more advanced, more “professional” format — bigger negatives, better quality, the stuff of serious medium-format cameras — whereas 35 mm is the everyday format. Yet in the Etyud the larger 120 frame was reached for the opposite reason: purely to simplify and cheapen the processing, so that a child could make a real, contact-printed photograph without ever touching an enlarger.
Why color optical printing stayed hard
So if black-and-white printing is this accessible, why didn’t everyone print their own color photographs at home? The answer is that color optical printing is brutal in almost every way black-and-white is gentle.
The first problem is that color paper is panchromatic — it has to be sensitive to red, green and blue in order to record color at all. That single fact removes the safelight. You cannot watch the image come up; you have to work in near-total darkness, by feel and by the clock. The second problem is color balance. The light from the enlarger has to be filtered with a precise combination of cyan, magenta and yellow filtration, and every negative, every batch of paper, even every shift in the enlarger lamp’s color temperature, throws that balance off. Getting a neutral, natural-looking print meant making a test, processing it, judging the color cast, adjusting the filtration, and trying again — often several round trips per image. On top of that, the color chemistry itself (the RA-4 process and its predecessors) is unforgiving about temperature, running hot at around 35 °C and demanding tight control to stay consistent.
Put together, this meant color printing demanded darkness, expensive filtration and analyzers, temperature-controlled chemistry, and a great deal of patience and wasted paper. It was perfectly doable for a dedicated enthusiast or a professional lab, but it was never going to be a casual home activity the way black-and-white was. For decades, that complexity was simply the price of a color photograph.
It is worth pausing on just how long that price held things back. Color photography itself is not a late invention at all — it dates back to the very start of the 20th century, and Sergey Prokudin-Gorsky famously worked out a way to store color images on ordinary black-and-white media, shooting a scene three times through red, green and blue filters and recombining the results. And yet, despite the science being there that early, color stayed a rare and niche curiosity for decade after decade — precisely because of the difficulties described above. The idea was solved long before the practicality was; what was missing was a way to make a color print easy and cheap enough for ordinary people, and that is exactly the gap the rest of this story is about.
Note
None of this is to say color darkroom printing is bad — beautiful work was and is made this way. The point is purely about accessibility: the barrier to a good color print by hand was high enough that it kept the process out of ordinary homes.
Minilabs
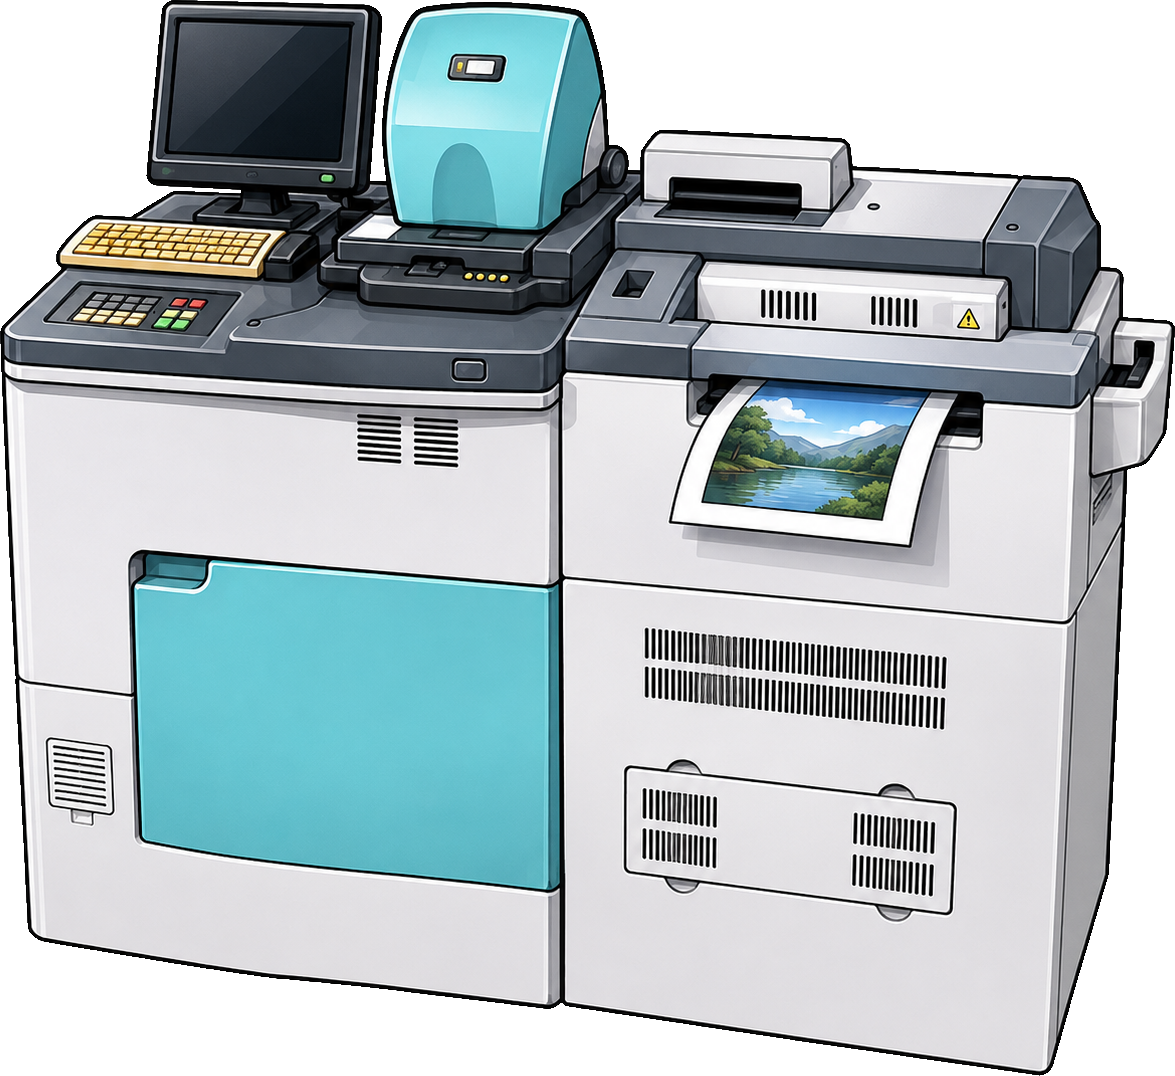
What broke the deadlock wasn’t a better manual technique but a machine that took the human out of the hard parts entirely. The minilab, which spread explosively in the 1990s, is an automated printing line compact enough to sit in a corner of a pharmacy, a supermarket, or a dedicated “one-hour photo” shop. You handed over a roll of film and came back later to a stack of prints.
Inside, the minilab attacked exactly the difficulties described above. It ran the film and paper through roller-transport processors that held the chemistry at the right temperature automatically, so the operator never had to babysit a tray. Crucially, it measured each frame and worked out the exposure and color correction on its own — the very filtration-and-test-print dance that made hand printing so laborious was now done in a fraction of a second by sensors and, later, by software.
The later digital minilabs went a step further and, importantly, split the process in two: scanning the film became one stage, and exposing the paper became another, entirely separate one. The paper is still the same light-sensitive, silver-halide stuff as before — but it is no longer exposed by light shining through the negative. Instead the machine scans the film into a digital image, corrects it on screen, and then writes that image onto the paper with finely modulated laser beams whose intensity is controlled by a digital “brain”. Decoupling capture from exposure didn’t just make color correction from film easier still; it meant the exposure stage no longer needed a negative at all. The very same machine could now print images that were born digital — straight from a memory card or a file. That turned out to be wonderfully well timed: right through the gradual shift from film to digital, a single physical device could keep serving every kind of customer — the ones still bringing in rolls of film and the ones bringing in digital files — for years on end.
This is the fundamental shift. Color printing didn’t get easier so much as it got delegated. The enormous complexity didn’t disappear, but it was packed inside a box and amortized across millions of prints, so that the cost and skill required of any individual dropped to essentially zero. That is what finally made mass color printing real, and it is why the 1990s were the decade when color prints became something everyone simply had, by the shoebox-full.
Inkjet photo printing
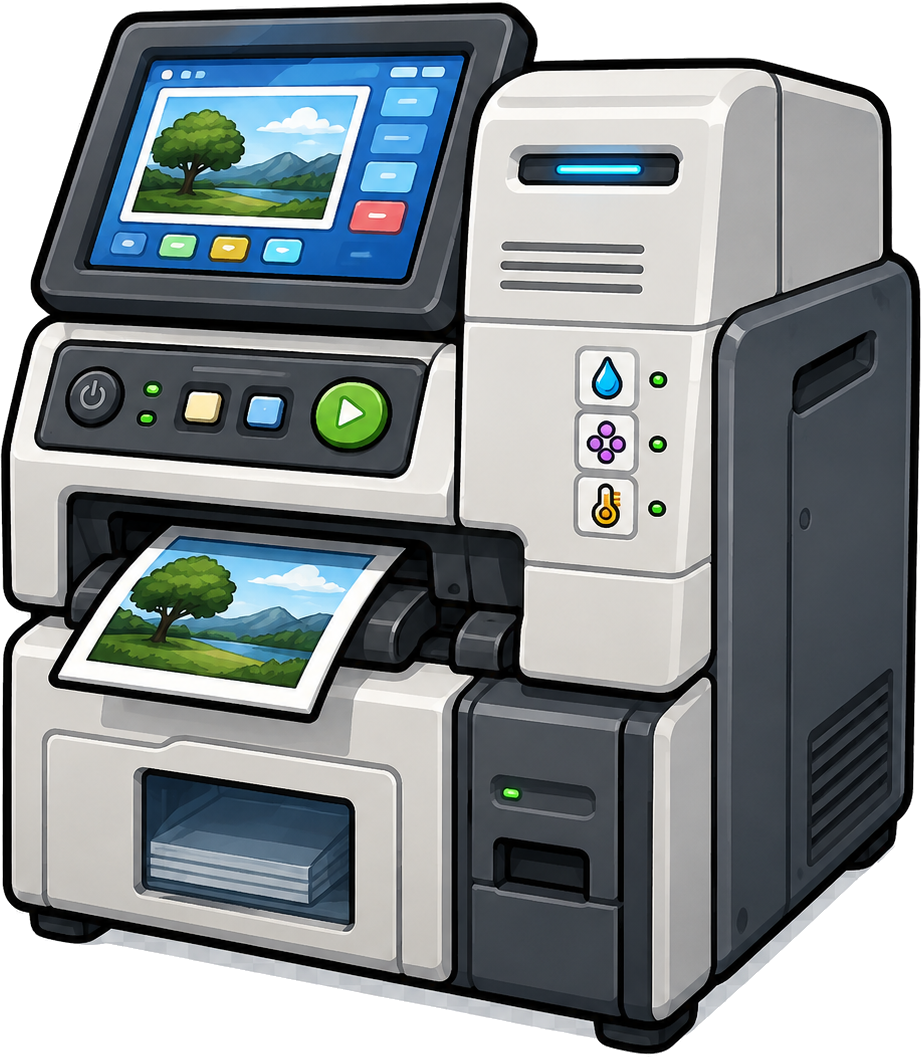
The next turn was digital capture, and with it printing moved out of the chemical world altogether and onto the desktop. Inkjet photo printing builds the image by firing microscopic droplets of ink onto specially coated photo paper, laying down color from separate ink channels. Modern photo inkjets use anywhere from a handful to a dozen or so inks — including additional shades and dedicated gray or “photo black” inks — precisely because more channels mean smoother gradients and a wider, more accurate color range.
The advantages are considerable, and they explain why inkjet now owns the serious-amateur and fine-art end of printing. You can print at home, on demand, with no darkroom and no chemistry. You have complete control over the file before it prints, and through color management you can get predictable results. Pigment-based inks in particular are genuinely archival, lasting many decades without noticeable fading, and inkjet scales beautifully from small prints up to large exhibition pieces, on an enormous variety of papers and other media.
The drawbacks are just as real. The hardware is cheap but the ink is famously expensive, so the running cost per print can be surprisingly high. The print heads can clog if the printer sits unused, wasting both ink and patience. Dye-based inks, while vivid, fade faster than pigments, and pigment prints can show their own quirks such as bronzing or metamerism — colors that shift depending on the light you view them under. And to get the best out of any of it you really do have to engage with color profiles and paper settings, which is its own small learning curve. Inkjet trades the darkroom’s chemistry for the desktop’s fiddliness; it just happens to be a trade most people are happy to make.
Printing in portable printers
Finally, there is the category built around a completely different priority: not the best possible print, but a print right now, anywhere, from your phone. Portable and pocket printers generally avoid liquid ink, because cartridges and clog-prone heads don’t survive being thrown in a bag, and they lean on a few clever heat-based technologies instead.
The most quality-oriented is dye-sublimation. Here a ribbon carrying solid dye is heated by a thermal head until the dye turns directly to vapour and diffuses into the paper’s surface, one color pass at a time — typically yellow, then magenta, then cyan — finished with a clear protective overcoat. Because the dye blends into the surface rather than sitting on top as dots, dye-sub gives genuinely continuous tone, smooth skin tones, and a tough, water- and fingerprint-resistant print. It is the technology behind many of the small dedicated photo printers people use for 4×6″ snapshots.
At the truly pocket-sized end sits ZINK, short for “Zero Ink”. The trick is to move all the color into the paper itself: the sheet is embedded with layers of colorless dye crystals that develop into yellow, magenta and cyan when the printer heats them with precise pulses. With no ribbon, no cartridge and no liquid at all, a ZINK printer can be astonishingly small and simple, which is exactly why it shows up in keychain-sized gadgets that spit out sticker-backed prints from your phone. The catch is that image quality and color accuracy are modest — this is printing for fun and immediacy, not for the wall.
And then there is the instant-film route, where “portable printers” such as the Instax-style devices aren’t really printers in the ink sense at all but small chemical labs: they expose and develop a sheet of self-developing instant film, reviving the old Polaroid magic in a phone-connected form. It closes the loop in a pleasing way — after a century of chemistry giving way to automation and then to digital, the most charming pocket option is a tiny chemical print you watch appear in your hand.
Each of these methods exists because it answered a real limitation of what came before: contact printing’s simplicity, the enlarger’s control, the minilab’s automation, the inkjet’s flexibility, the pocket printer’s sheer convenience. Knowing what each one is actually doing makes it a lot easier to pick the right tool — and to appreciate just how much engineering hides behind something as ordinary as a photograph on a piece of paper.
A personal afterword
I’ve always been an IT guy by trade, but for many years I did photo-lab work on the side from home, and I’ll admit it openly: as a geek, I am a huge fan of the digital minilab. Some friends of mine owned a Fujifilm Frontier 340 — not the most cutting-edge machine in the world, perhaps, but one that turned out absolutely stunning prints all the same. So it makes me a little sad to watch minilab printing slowly fade away. A big part of why it’s dying, I think, is that people don’t understand the difference between the technologies and simply chase “prints” rather than a particular kind of print — and once all you’re asking for is “a print”, that demand can be satisfied by anything at all, cheap inkjets included. In fairness, inkjets have come remarkably close to minilab quality these days, but they still don’t match the sheer longevity of a minilab print.
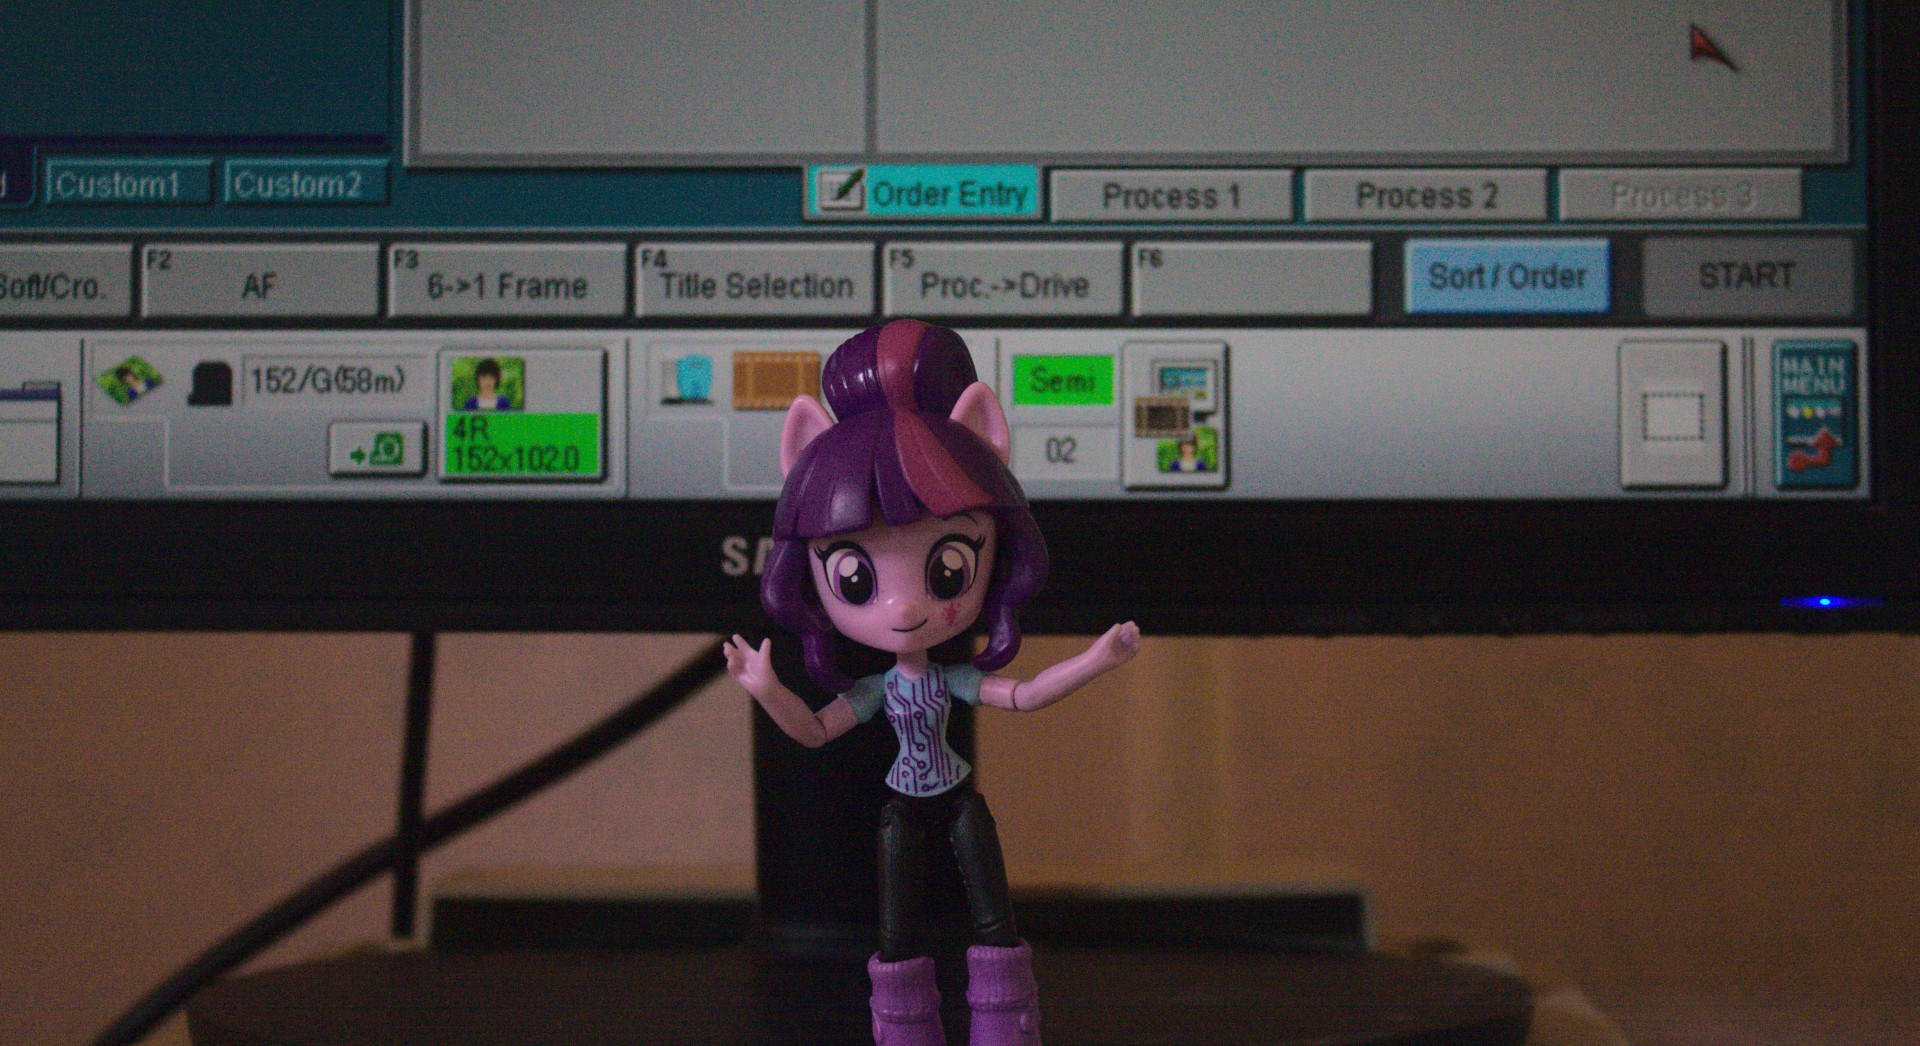
I also still do manual optical printing, even after moving from Maykop to Vanadzor, and I keep an Epson L8050 on hand whose output is honestly hard to tell apart from a minilab print — and yet, without a minilab, it always feels like something is missing. For me, the minilab has an even stronger vibe than waving my hands over a sheet of paper under the red glow of a safelight.